How to prepare products for a photo shoot: a checklist for online stores
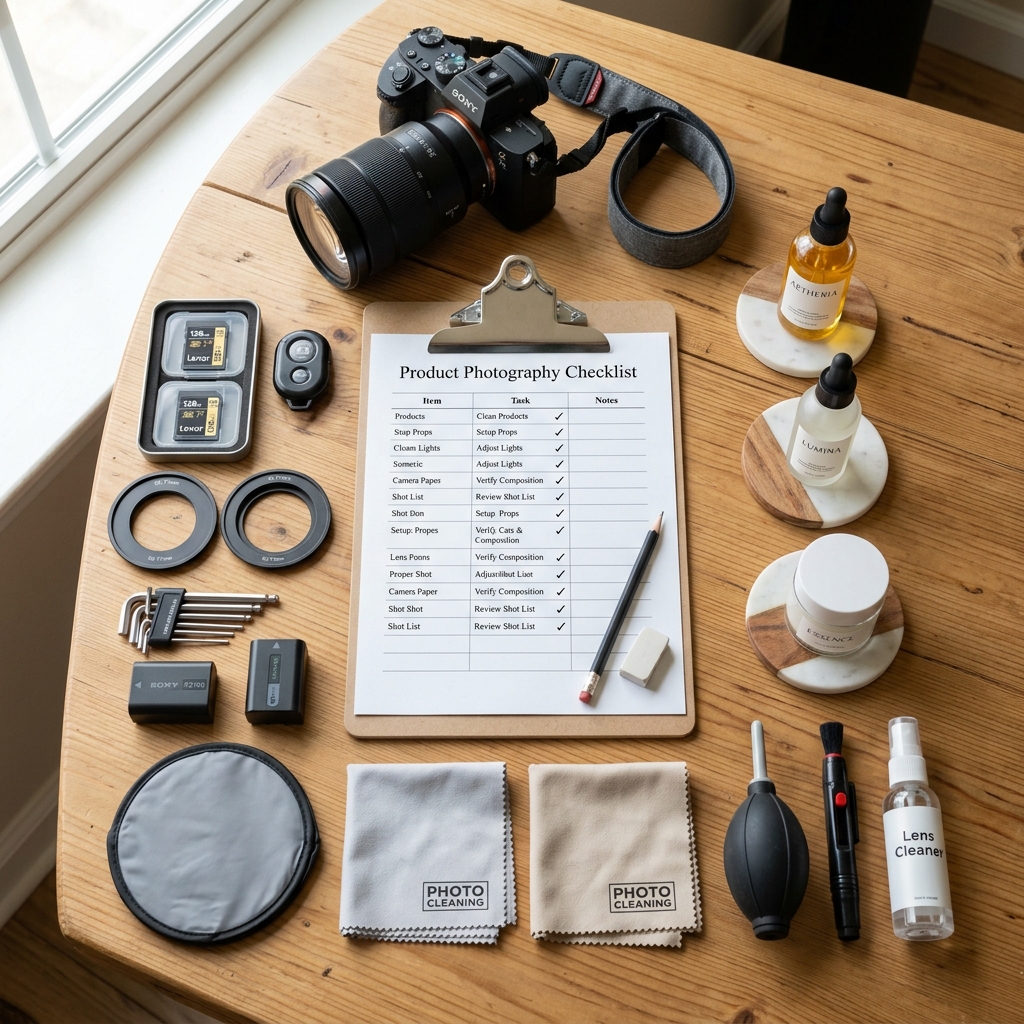
You’ve decided to organize a professional photo shoot for your products. Whether you hire an outside photographer or run your own studio, careful product preparation shapes the final result: it saves time, lowers post-production costs and gives you consistent, high-quality images. Here is a tried-and-tested 4-step checklist.
1. Product selection and inspection
Pick the best units from your warehouse. Check the details: every product for the shoot should be free of scratches, dents and manufacturing defects. If you sell apparel, make sure the seams are straight and the colors are true to the product. A high-resolution camera picks up every flaw.
2. Start with cleaning
- Glossy surfaces (glass, plastic, metal): Wear cotton gloves and use dedicated cleaning fluids to remove fingerprints and dust.
- Apparel and textiles: You’ll need a lint roller and a garment steamer. Wrinkle-free garments look professional in every close-up.
- Tags and protective packaging: Remove all price stickers and protective film. If a tag has to stay on, make sure the photographer knows to hide it or remove it in Photoshop.
3. Logistics and grouping
Group products by size, color or material. A photographer usually sets up the lighting for a specific type of surface (glass, for example, is lit completely differently from matte fabric). When products are grouped, the photographer changes the lighting setup less often and the shoot runs more smoothly.
4. Shot list
Prepare a document for your photographer that lists how many photos you need of each product, for example 4 shots: front, back, a close-up of the zipper and the product in its packaging. When your photographer gets the shot list before the shoot, the session follows a clear plan and covers every shot you need.


